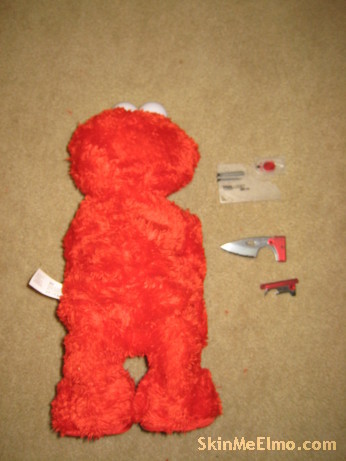
There is more than one way to skin an Elmo, but this is what worked best for us:
The tools we had handy were Elmo's knife, and a seam ripper, plus a screwdriver (not pictured).
We started with the feet, where we discovered an on/off switch! Who knew? We first removed the batteries, and then removed the screws that attached the foot pad to the rest of the foot.
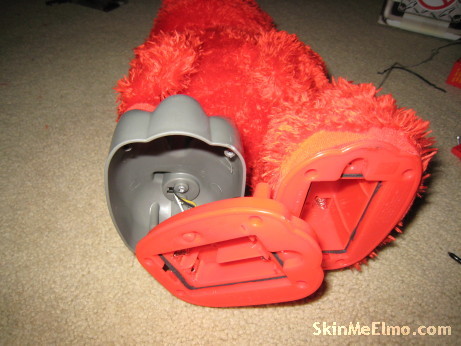
There was a small thread attaching the skin to the top of the foot that had to be cut before the skin could be removed.
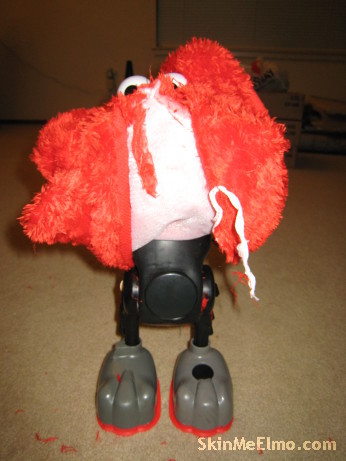
With the screws removed and thread cut, we were able to roll the skin off the feet up part of the leg.

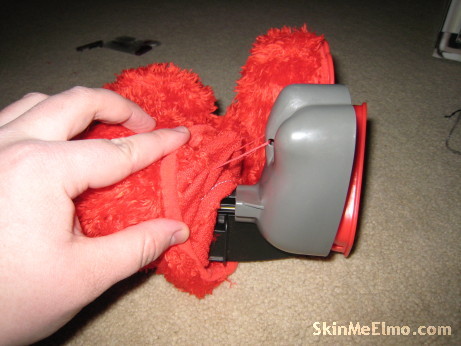
We found a hole in the back of the skin and used the seam ripper to expand the hole from the lower back to the back of the neck.
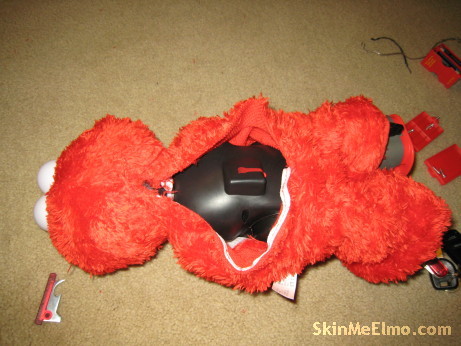
With the back exposed, we could then pull the skin over the bottom of the legs toward the front, stopping once we got to his one mechanical arm. (This did not tickle)
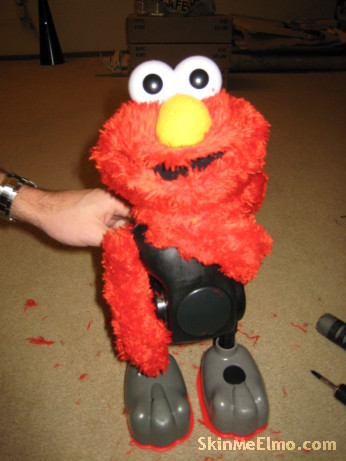
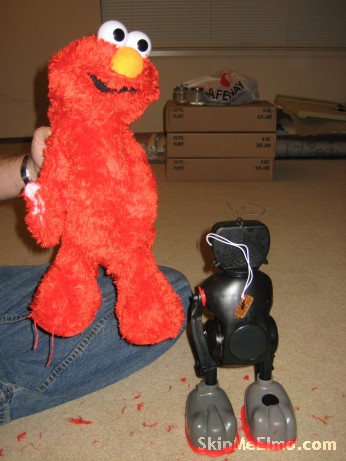
 Here you can see the buttons on his foot and belly to activate tickling.
Up to this point the skin came off relatively easily but at the arm the skin was attached inside the body.
We started the incision at the thumb and opened the skin up enough that we could slide it back to the shoulder, to expose the screw there.
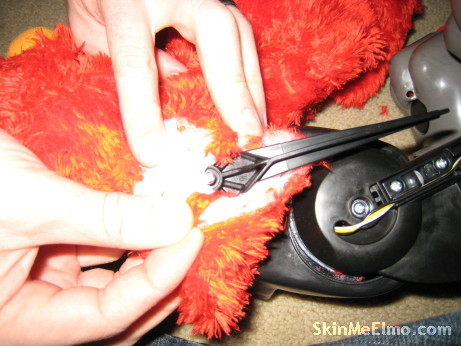
We removed the screw in the shoulder and loosened the screws along the back enough to completely remove the arm.
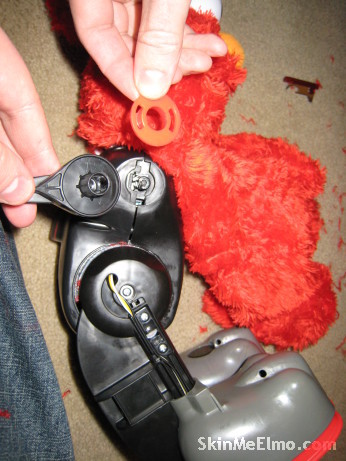
To remove the head we had to pull out the chin sensor from a pouch in the head. Finally we could separate the skin from the body.
Copyright 2007 greenfly and ck3k